

Are you tired of spending a fortune at the car wash or detailer? What if we told you that achieving a professional-level car cleaning and detailing at home is possible? That’s right the Westside Auto Service experts have put together these tips so you can learn how to effectively clean and detail your car.
Get ready to embark on a journey to car cleaning mastery as we guide you through a step-by-step process that will leave your car gleaming inside and out.
Car Cleaning Preparation for a Spotless Car
Preparing adequately for car cleaning can significantly enhance the results and protect your vehicle's finish. Here are some key steps:
- Parking in the Shade: Washing your car in the shade prevents the car wash shampoo from drying prematurely, which can lead to water spots on your car's surface and windows. A cooler surface also makes the washing process more effective and prevents evaporation of cleaning agents.
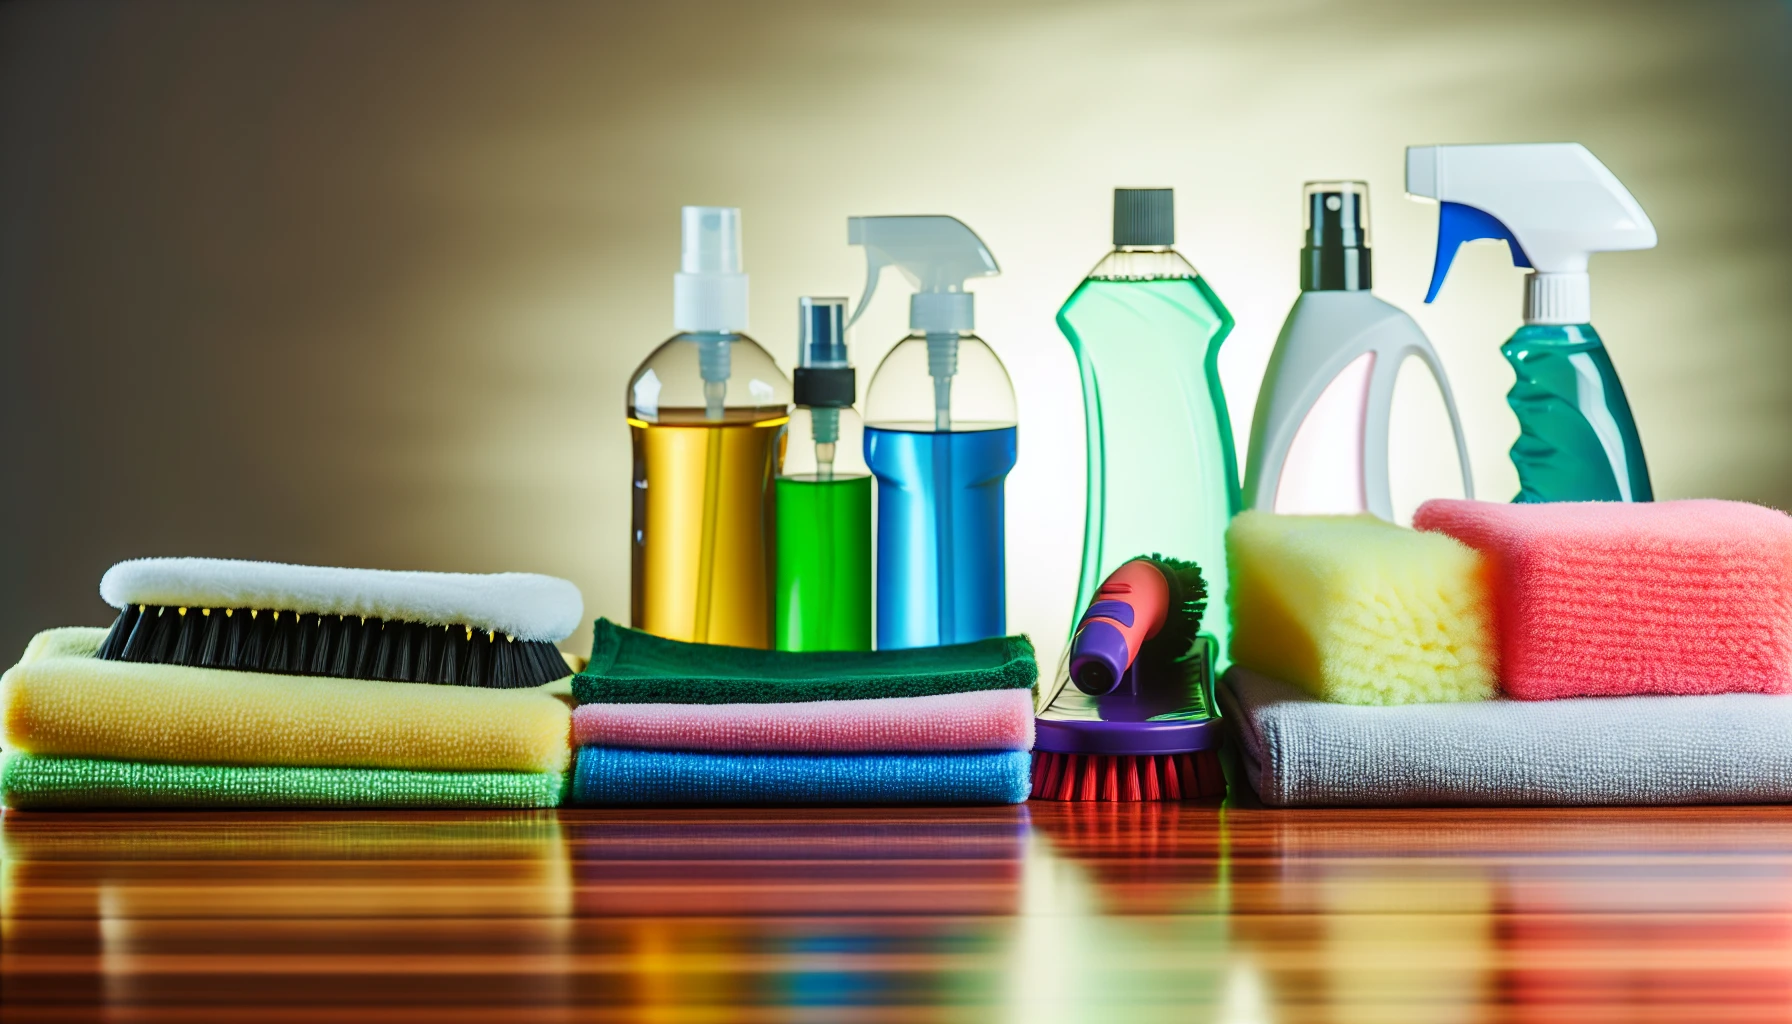
- Gathering Necessary Tools and Products: Essential items include two buckets (one for soap and one for rinsing), a high-quality car wash shampoo, a wheel brush, wheel and tire cleaner, a microfiber wash mitt, foam gun (optional, connects to a hose), and glass cleaner. If desired, car wax and detailing spray can be used for finishing touches. It's important to use products specifically designed for automotive use to avoid damaging the paint or finish.
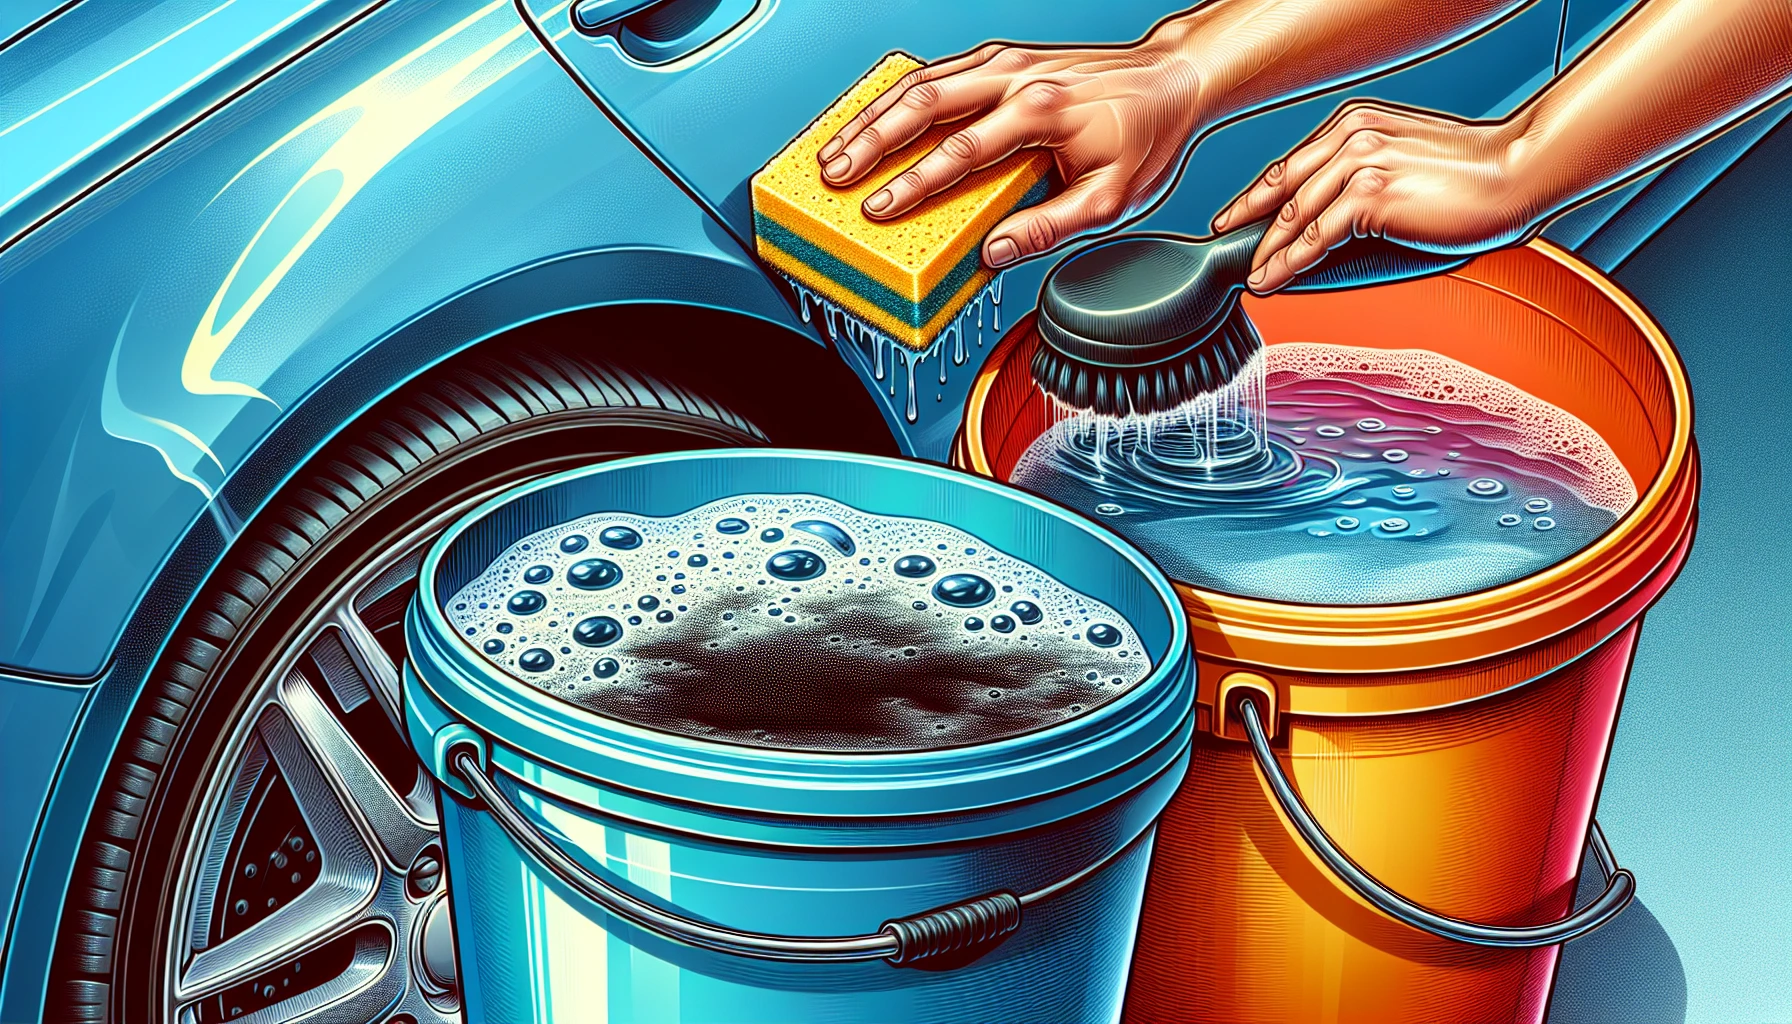
- Two-Bucket Wash Method: This method involves using one bucket with a soap solution and the other with just water for rinsing your mitt. This helps keep the soapy water free of dirt and grime, preventing scratches on your car’s paint. Use a grit guard insert in both buckets to trap dirt at the bottom.
- Rinsing Your Car Prior to Soap Application: Thoroughly rinse your car with a hose or pressure washer to remove loose dirt and debris. Start from the top and work your way down. Be cautious when using a pressure washer, as incorrect use can damage the paint.
- Washing the Wheels First: Clean the wheels first using a separate mitt to prevent spreading dirt to cleaner parts of the car. After cleaning each wheel, rinse it and the brush before moving on to the next.
- Applying Soap and Washing the Car: Use a microfiber wash mitt and the soapy water to wash the car, starting from the top and working downwards. Wash in straight lines rather than circular motions to avoid swirl marks.
- Rinsing Frequently During Washing: Rinse off each section after washing it, and keep the entire car wet throughout the process to prevent water spots.
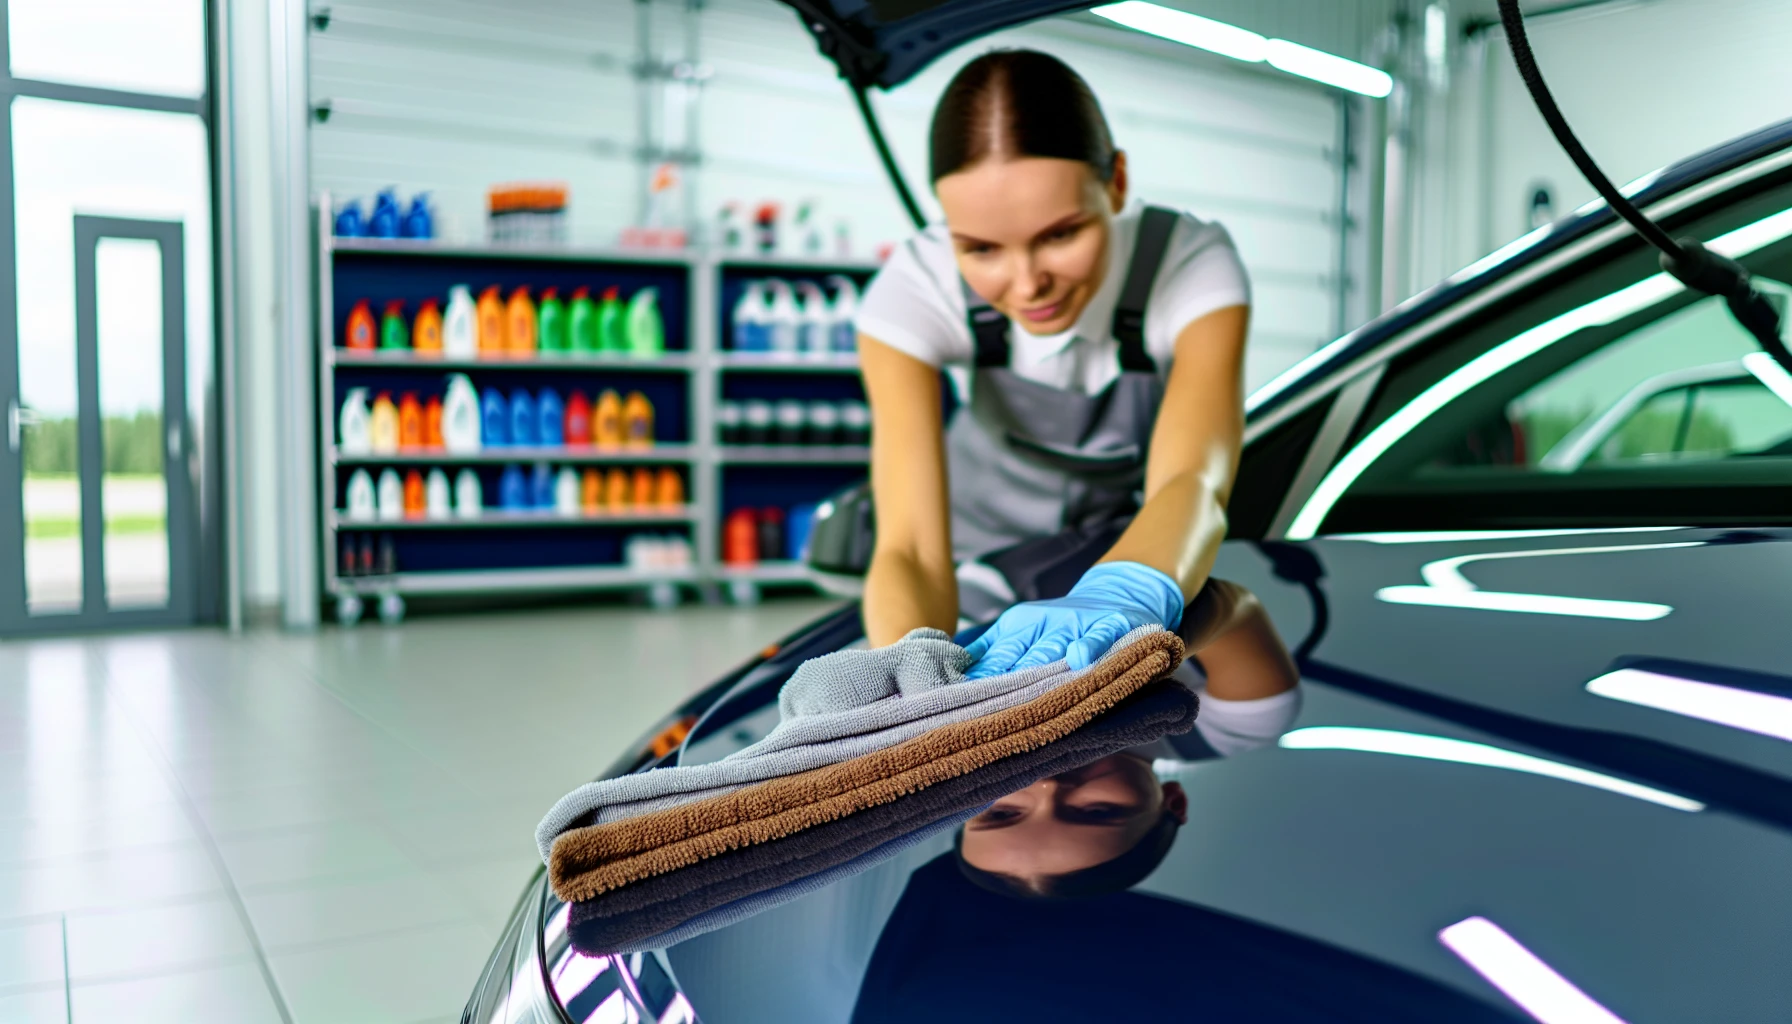
- Final Rinse and Drying: Use an open flow setting on your nozzle or remove it altogether for the final rinse, allowing water to sheet over the surface of the car. Dry the car with a high-quality microfiber towel, waffle weave towel, or a specialty drying product. Avoid circular motions while drying.
- Cleaning Glass Exteriors and Interior: After drying, use a window cleaner specifically designed for automotive glass to clean both the exterior and interior of the windows.
- Adding Protectant: Optional protectants like quick detailer or car wax can add shine and protection to the car’s finish.
If you don’t have the time or space to wash your car at home, you can always visit a local car wash or a professional cleaning service.
Cleaning Wheels and Tires
Cleaning wheels and tires is an important step in maintaining your car's appearance and longevity. Here’s a summary of the best practices for cleaning wheels and tires, as advised by various automotive experts:
- Pre-Rinse Wheels and Tires: Start by rinsing the wheels and tires with a hose to remove any loose dirt and brake dust. This initial rinse makes the cleaning process more effective by softening and removing the larger particles.
- Use a Bristled Brush: A bristled brush is ideal for cleaning wheels as it can reach into the crevices and around the wheel spokes. It’s effective in dislodging tougher dirt and grime that may have built up on the rims.
- Apply Wheel Cleaning Product: For a deeper clean, use a specialized wheel cleaning product. These products are formulated to break down tough grime, brake dust, and road film that regular car shampoo might not remove. Spray the cleaner onto the wheel and let it sit for a moment to penetrate the dirt.
- Scrub with Car Shampoo: After applying the wheel cleaner, use car shampoo and the bristled brush to scrub the wheels thoroughly. Pay special attention to the crevices and hard-to-reach areas.
- Rinse Thoroughly: Once you’ve scrubbed the wheels clean, rinse them thoroughly with water to remove all cleaning products and loosened dirt. Ensure no cleaner residue is left, as it can cause discoloration or corrosion.
- Dry and Protect: After rinsing, dry the wheels with a microfiber towel to prevent water spots. You can also apply a wheel protectant or wax to help keep them clean longer and make future cleaning easier.
Remember, always clean your wheels and tires before washing the body of your car to prevent splatter of brake dust and grime onto the clean car body. Following these steps will help keep your wheels and tires in great condition, enhancing the overall appearance of your vehicle.
Drying Without Damage
Drying your car correctly after washing is vital to prevent damage to the paintwork and achieve a clean, spotless finish. Here are some effective methods and tips for drying your car without causing damage:
- Microfiber Drying Towel: This is a highly recommended and widely used method. Microfiber towels are gentle on your car's paint, highly absorbent, and can be used to dry the car without scratching it. Start at the top of the car and work your way down, using light pressure and long, sweeping motions. Remember to regularly wring out the towel and switch to a clean one if necessary to avoid transferring dirt back onto the car.
- Air Compressor or Car Dryer: Using an air compressor or a car dryer is an efficient way to dry your car, especially for hard-to-reach spots. This method allows you to remove water from the car's surface without making direct contact, thereby reducing the risk of scratching the paint. Start from the top and use controlled bursts of air to push water off the surface. After using compressed air, a microfiber towel can be used for any remaining moisture.
- Leaf Blower or Pet Dryer: Similar to an air compressor, a leaf blower or pet dryer can be used for drying your car. Ensure the device has a particle filter if you choose a leaf blower, and always use a dedicated device for your car to prevent dust or dirt contamination. Start from the top and work your way down, focusing on hidden spots where water tends to accumulate.
General Tips for Drying Your Car:
- Avoid drying your car in direct sunlight to prevent water spots.
- Dry your car immediately after washing to avoid water spots, especially in areas with hard water.
- Use drying aids or quick detailers to enhance the shine and reduce the chances of water spotting.
- Regularly wax your car to make the drying process easier and protect the paintwork.
Remember, each car and situation may require a slightly different approach, so it’s important to find the method that works best for you and your vehicle. By following these methods and tips, you can ensure a safe and effective drying process, maintaining your car's appearance and longevity.
Interior Deep Clean: Starting Underneath
With your car’s exterior now shining, the focus shifts to the car’s interior, ensuring the entire car looks its best. Start by vacuuming up all the visible dirt and debris from the floor and under the seats. This initial step will help you identify any stubborn stains or spots that may require extra attention after taking care of the car’s exterior.
Next, remove floor mats and give them a thorough vacuum or shake to remove any loose dirt and pet hair. This process will help keep your car’s interior looking and smelling fresh.
Refreshing the Dashboard and Door Panels
Given that your dashboard and door panels can gather dust and dirt over time, they warrant regular cleaning. Here’s how to clean them:
- Use a clean toothbrush to gently rub along the dashboard and door panels.
- Use the vacuum hose to suck up any dirt or dust particles.
- To achieve a sparkling clean dashboard and console, wipe it with a clean microfiber cloth.
- Spray a household cleaner or specialized car interior solution onto a clean microfiber cloth and lightly wipe it across the dashboard and console.
- Wet the damp cloth and use it to wipe the areas with clean water.
- Dry the areas with a non-abrasive cloth or some paper towels for a perfect finish.
A soft brush is the best tool to use for cleaning door handles and window buttons or cranks. Spray it with a household or interior car cleaner for optimal results.
Upholstery and Leather Care
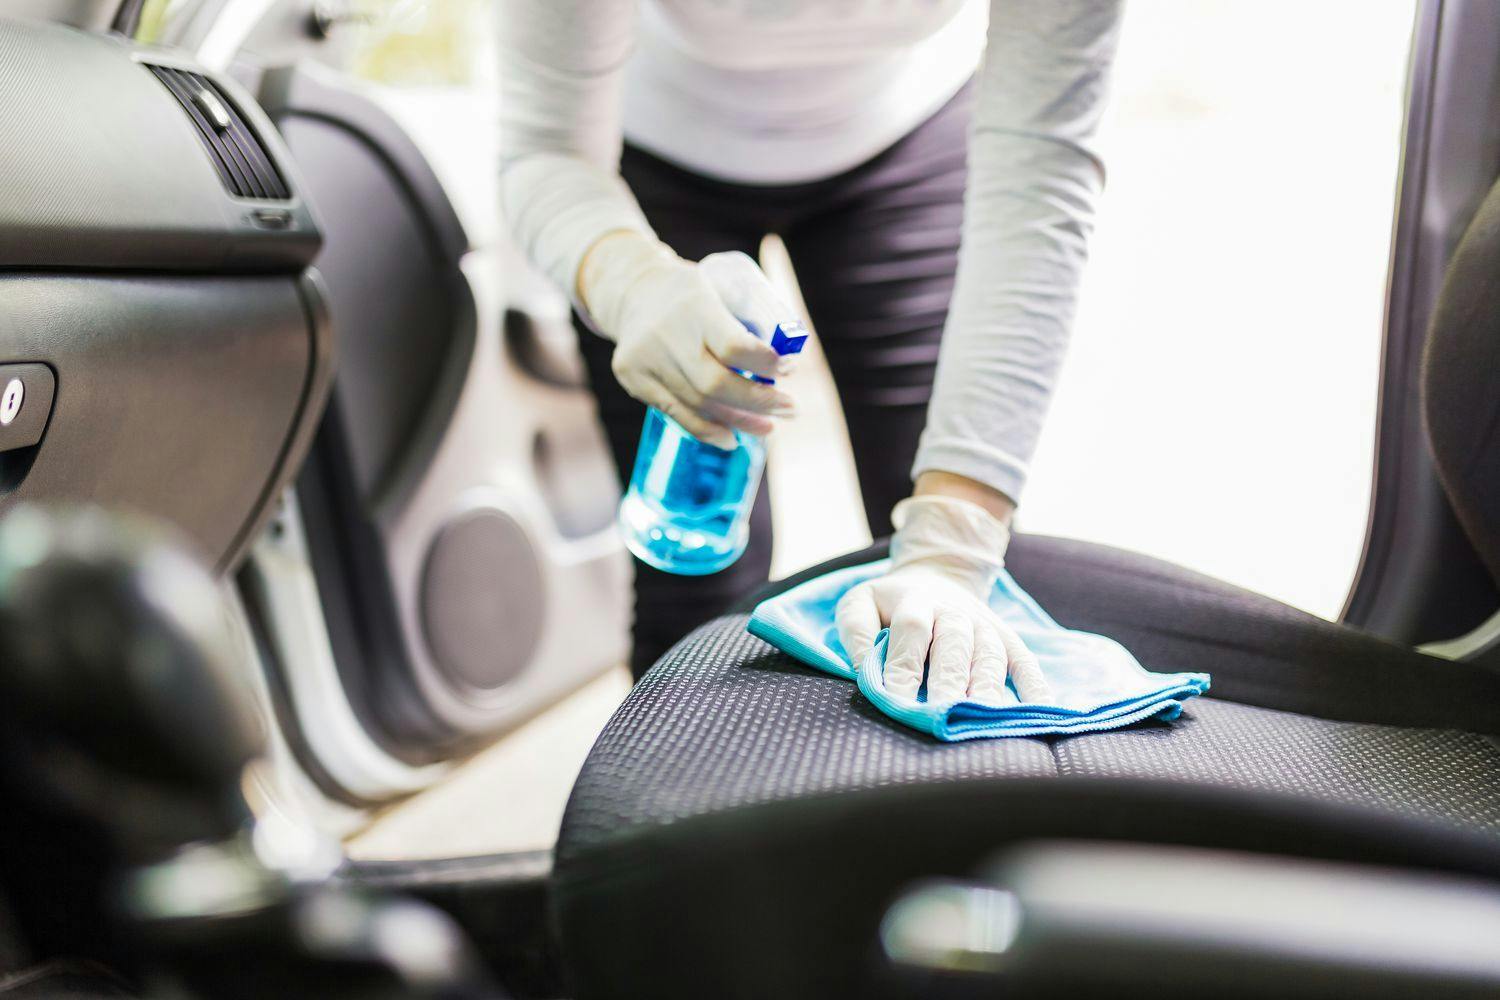
Taking good care of your upholstery and leather seats is important for keeping your car interior clean and comfortable. To clean fabric car seats, follow these steps:
- Start by vacuuming them with a powerhead attachment.
- Work upholstery cleaner into any stains with a scrub brush and let it sit for at least 15 minutes.
- Lightly spray the entire seat with a cleaning solution.
- Gently scrub the solution-coated fabric with a soft- to medium-bristle brush.
- Mop up the dirty suds with a clean cloth.
- Vacuum the seat again to help it dry thoroughly.
Vacuum your leather car seats before using any cleaning solution. Apply the solution with a soft microfiber cloth to get the desired results. Wipe clean with a damp microfiber cloth, and buff dry with a third, dry microfiber cloth. Apply a leather conditioner to keep your seats looking their best and add a protective layer to prevent wear and tear.

Crystal Clear Windows
Maintaining streak-free, clear windows not only improves your car’s look but also guarantees clear visibility when driving. Here’s how to clean your windows:
- Dampen a microfiber cloth with soapy water.
- Use a figure eight motion while applying light pressure to remove dust and dirt.
- Polish the windows with a separate microfiber cloth to make them shine, paying extra attention to the corners and edges of windows.
For the best results, use a clean microfibre cloth, such as waffle weave microfiber towels, as they are incredibly absorbent, leave no lint behind, and their waffle ridges make it easy to remove any dirt or grime.
Addressing Hard to Reach Spots
Cleaning hard-to-reach areas in your car might appear challenging, but it can be easily accomplished with the appropriate tools and techniques. Here are some tips:
- Use a vacuum with a narrow nozzle attachment to get into the hard-to-reach places in your car. Cup holders, door panels, floor mats, under seats, and even under the pedals can all be easily cleaned.
- A microfiber cloth is perfect for dusting off air vents and dashboards.
- Antibacterial wipes can make sure you get rid of germs and stickiness.
To clean glove compartments, use a mild nonabrasive detergent, interior all-purpose cleaner/degreaser, or interior cleaner. A clean toothbrush or damp cotton swab can be helpful in reaching and cleaning tight nooks and crannies.
Final Touches for a Detailed Finish
With your car now spotless, it’s time to apply a few final touches to achieve a detailed finish. Wax your car using a high-quality product like Pro To The Max, following the directions on the wax product for optimal results. Waxing not only gives your car a glossy shine but also adds a protective layer against the elements.
Another essential step for a detailed finish is headlight restoration. The 3M’s Quick Headlight Renewal kit can help restore the clarity of your headlights and make them look like new again. By applying painter’s tape around each headlight, you can guarantee a perfect clean without damaging the surrounding area.
Maintaining a Clean Car
Once your car is spotless, maintaining its cleanliness through regular washing and interior cleaning is important. Vacuum your car’s interior two to three times a year and wash the exterior every two to three weeks, or even once per week if exposed to harsh conditions.
Preventative measures, such as using protective products like wax, placing a trash bin in your car to avoid messes, and keeping it fresh with air fresheners, will help keep your car clean and looking its best.
With a bit of effort and commitment, you can maintain a pristine car that garners attention wherever it goes, even when visiting an auto shop, by taking care of your car’s paint.
Summary
In conclusion, achieving professional-level car cleaning and detailing at home is not only possible but also rewarding. By following our expert tips and step-by-step process, you can transform your car into a gleaming, showroom-ready masterpiece. So why wait? Grab your cleaning supplies, roll up your sleeves, and start your journey to car cleaning mastery today.
Elevate the condition and appearance of your vehicle with the expert car cleaning services at Westside Auto Service. Our team specializes in thorough interior and exterior cleaning, ensuring your car shines inside and out. Trust us to handle your vehicle with care and professionalism, delivering results that meet your highest expectations. Visit Westside Auto Service today for top-notch car cleaning that revives and protects your vehicle's look and feel. Drive away with a car that feels brand new!